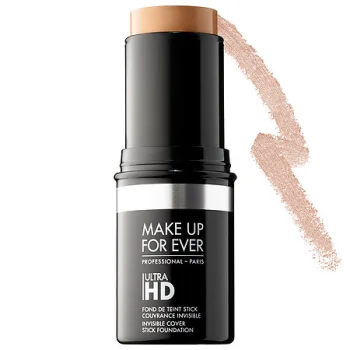
Welcome back, my loves! Today I will be reviewing the Make Up For Ever Ultra Hd Stick Foundation. I’m going to make this short and sweet because I LOVE this foundation. I received this product in my very first VoxBox from Influenster and I’m sooooooooooo glad I did! You can purchase this guy at Sephora for $43 and with 15 shades available, you are bound to find your shade.
Packaging:
The packaging is very simple. The lid snaps on and off easily and it has a little tab to keep the foundation fresh. All you have to do is twist up and apply! It’s great for traveling. You don’t have to worry about your foundation leaking.
Pros:
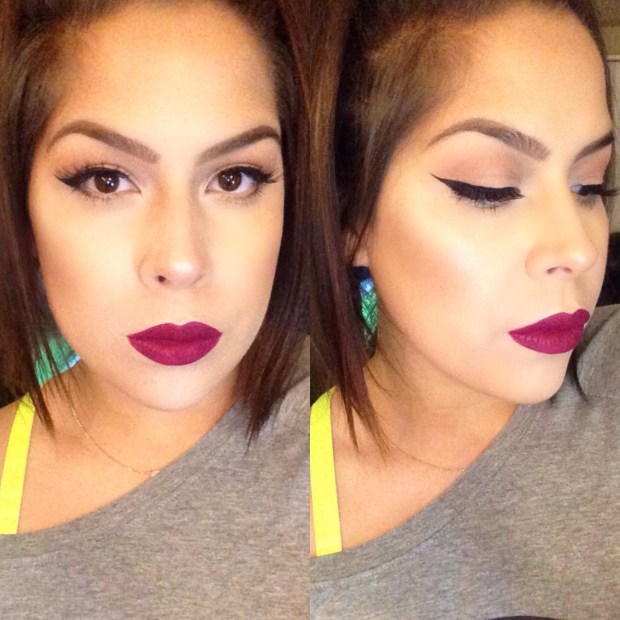
I have struggled to find the perfect full coverage foundation for a while. A lot of foundations claim to be full coverage but they’re not. This is not the case. This foundation can totally be built to FULL COVERAGE. Usually the more coverage foundations have the more matte or cakey they are. I love this because it leaves a very natural dewy flawless finish. It does not get cakey at all. My skin is extremely dry at the moment from the weather transitioning to Fall. This does not cling on to my dry patches as much as others do, so for me that sealed the deal. I’d say this is more of a winter foundation rather than a summer. It’s also great for any special occasion where photos will be taken.
Don’t be afraid of the full coverage. This can also be used as a light everyday foundation.
Cons:
I think the price of $43 is a little hefty, especially since you only get 0.44oz. The average size of a foundation is around 1oz. The biggest negative about this foundation is that it really sinks into your pores. Like bad…. And I don’t really even have big pores! To fix this problem I use a primer. The MUFE Smoothing Primer does the trick. I would not recommend this to very oily skin. You could probably get away with it if you have combo to oily, but you would definitely have to set it with powder.
How I apply:
For a lighter coverage, I apply a couple swipes on my cheeks, one on forehead and chin, and sometimes I’ll add a little bit more around my nose. Then, I’ll add a few sprays of Fix Plus to a buffing brush. The blending process is fairly easy after that. Setting powder isn’t necessary for me when I do this.
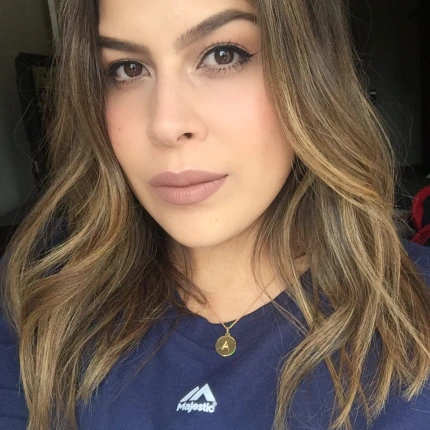
Lighter coverage
I like to use my beauty blender for a full coverage look. I prefer to apply the foundation in layers. Apply, blend, apply, blend, etc.. etc.. I lightly apply my Kat Von D loose setting powder (review here) all over my face after I set my concealer.
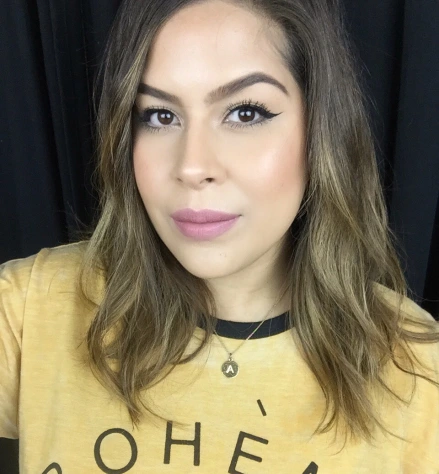
full coverage
There’s not much of a difference in both photos. That shows you just how good this foundation photographs!
A huge thank you to Make Up For Ever for allowing me to try this amazing product! I hope you enjoyed!
XO, Diana
 I am currently using the
  The KEY to a flawless face is setting it with powder. My favorite powder to set my concealer is the yellow shade (Lucid) in the
  Now the fun begins… First, I apply bronzer, the middle shade in the same Kat Von D palette. I hardly ever take the time to really sculpt my face. I’ve seen many people ask how to contour and what tool to use. I don’t think contouring is necessary more than half the time, just add a little bronzer and your good to go. I do believe the right brush is needed. I prefer to use a flat type of brush. I’ve been using the